I’m out with a camera. If I can be. Which is not as often as I’d like (either the lightning or being out in it).
Tonight I overheard two passerbys exclaim, “Ooh, lightning!”. My ears pricked up and I raced outside to see if they were seeing what I hoped they were seeing. They were.

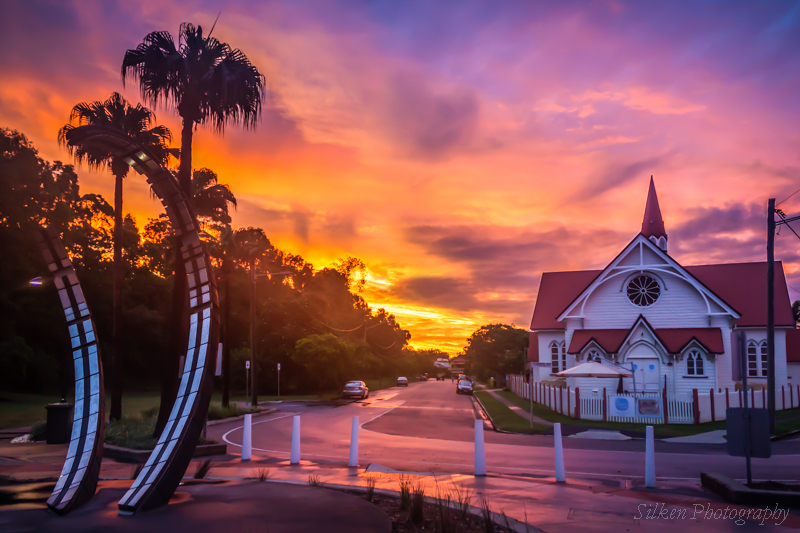
I live about 100 metres away from the sea, and once before I’ve gone to investigate weird orange flashes spotted faintly over the neighbours’ house to find a lightning storm out to sea. I grabbed my camera then and took a tonne of photos including the above one, but messed up the focus. Tonight was my first chance since then to do better.

Tonight’s shot: f/4.5, 8.0, ISO 1250
Camera settings:
- Focus to infinity. Remember that infinity is actually often just a smidge to the left of the mark on your lens. Each lens is different.
- Low ISO – 100-200
- Aperture: f/10-f/16 – but it varies depending on closeness of the lightning. The aim is to minimise the brightness of a bolt with a narrow aperture, and the long exposure compensates to bring up the rest of the image to a good exposure.
- Shutter speed: Varies depending on frequency of lightning. 8-15 seconds is a good starting point. Long exposures increase noise, so lots of frequent shorter shots are better than one long exposure. A bright close bolt can also completely blow out your image.
- If shooting through a car window, use a polarising filter to cut through any reflections
You’ll notice I didn’t manage 2/3 of the important exposure settings. My excuse is that there was so much activity in the cloud that I didn’t want to leave the shutter open much longer and a lower ISO wasn’t capturing enough detail. I have to say most advice I’ve seen on lightning photography doesn’t mention storms over 200kms away!
Beyond the Camera:
- Night shots are easier, the longer your shutter speed is open, the better chance of capturing a bolt
- An approaching storm is ideal, so there’s not too much rain between you and the lightning. A downpour will, ahem, considerably dampen the clarity of the lightning bolts.
- A tripod is absolutely necessary
Post-Processing:
As with any other photo. Light balance is a funny one, my camera has recorded lurid purple with lightning. Many photographers head to the Tungsten setting to create an electric blue cast. It’s all a matter of taste. The clarity slider is a fun one to play with, along with contrast and highlights.
Another fun thing worth trying is stacking several shots together to group the lightning into one image.
Stacking:
- Use Starstax or Startrails
- OR, if that doesn’t give the right results, in Photoshop:
- From Lightroom, select all and Edit In -> Open as Layers in Photoshop. From Bridge it’s Photoshop -> Load files into Photoshop Layers.
- Move your favourite layer to the top, it will then act as the base, or anchor layer
- Activate Lighten Blend mode to allow the lightest pixels visibility through the layers
- Check colour balance and adjust any odd frames if needed (ctrl-B for Colour Balance menu)

Lurid purple, stacked in StarStax
Next I’ll try stacking the photos I took tonight. The second shot above is one 8 second frame, but most of my other shots only have one bolt and some cloud colour in them. I’m not sure stacking will work given the amount of light that was in the cloud, but there’s only one way to find out!